
In the world of digital photo manipulation, few tools are as powerful and versatile as Adobe Photoshop. Among its many capabilities, one technique that fascinates both novice and professional editors alike is the X-ray or see-through clothes effect in Photoshop. While it’s not a built-in feature or filter, it’s a creative trick that allows you to simulate transparency in clothing, revealing either the background or implied shapes underneath for artistic, dramatic, or humorous effects.
Whether you’re an aspiring photo editor or a seasoned Photoshop user, learning this technique can help elevate your editing game. This blog will guide you through everything you need to know, from understanding what X-ray editing in Photoshop actually is to a step-by-step tutorial on how to make clothes appear transparent — all with ethical considerations in mind.
What is the X-ray Effect in Photoshop?
The X-ray effect in Photoshop is an image manipulation trick that gives the illusion of transparency in clothing or objects. This doesn’t actually “see through” real clothes or skin, but rather simulates the look by editing layers, adjusting color channels, and revealing background elements.
This effect is often used in:
- Artistic photography
- Creative ad campaigns
- Conceptual edits
- Comical or surreal visual storytelling
It’s important to understand that this technique is not used for unethical or voyeuristic purposes. Instead, it serves to add a creative, almost mystical dimension to your visuals — much like how ghost mannequin photography is used in eCommerce to showcase product fit without a model.
Key Differences: X-ray Effect vs Ghost Mannequin
Many confuse the Photoshop X-ray effect with the ghost mannequin technique, but they serve entirely different purposes:
Feature | X-ray Effect | Ghost Mannequin |
Purpose | Artistic/Creative | Product display |
Subject | Human or object | Clothing |
Result | Transparent clothing or object | Clothes without a model |
Tools Used | Layer masks, adjustments, blending | Pen tool, layer masks, background removal |
Learn How to Make See-Through Clothes in Photoshop (Step-by-Step)
Let’s dive into the step-by-step Photoshop tutorial that teaches you how to make see-through clothes using the X-ray effect in Photoshop 2025.
Step 1: Choose the Right Image
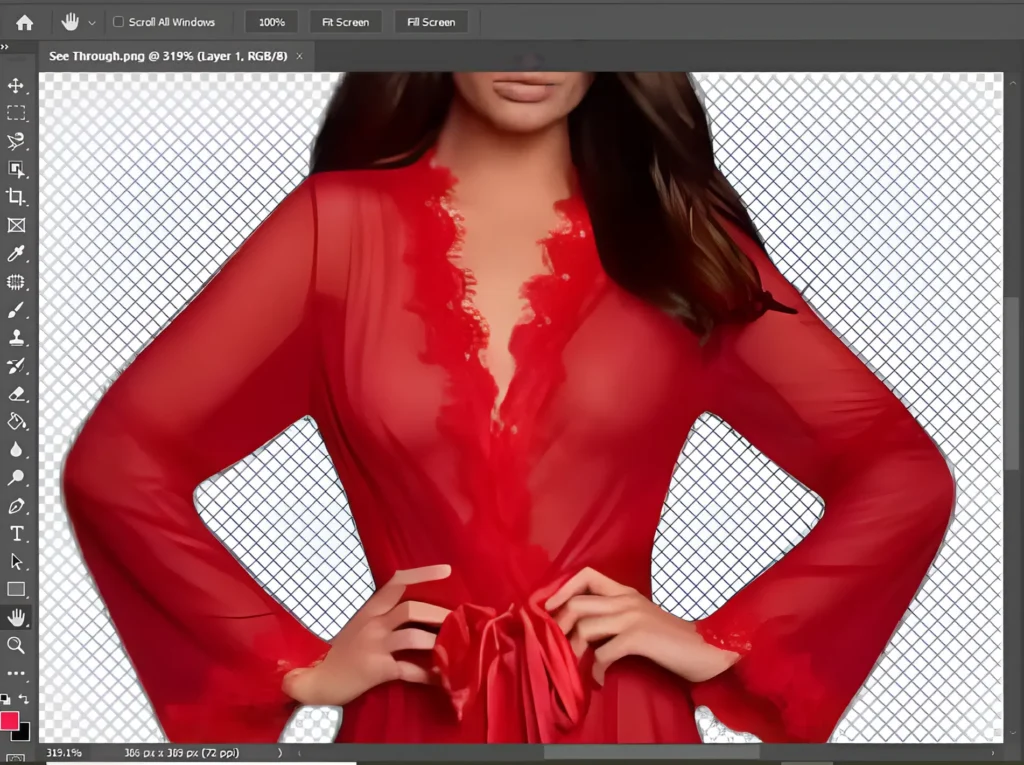
To start, pick an image where the model is wearing light-colored or slightly transparent clothing. These are easier to manipulate because they already allow some background or color to come through.
📌 Pro Tip: Avoid using dark or patterned clothes on your first try. Start simple and scale up your skills.
Step 2: Open the Image in Photoshop
- Launch Adobe Photoshop.
- Open your image using File > Open or press Ctrl + O.
Once loaded, duplicate the background layer to keep your original untouched. Use Ctrl + J to create a new editable layer.
Try Our See-through Clothes Editing Service!
Step 3: Select the Clothing Area
This is the most important part of the process. You need to accurately select the clothing you want to make transparent.
Tools you can use:
- Lasso Tool (L)
- Pen Tool (P)
- Magic Wand Tool (W)
- Quick Selection Tool (W)
📌 Pro Tip: Use the Pen Tool for the most precise results, especially around curves and folds.
Step 4: Create a New Layer from Selection
With your clothing selection active:
- Press Ctrl + J to duplicate the selected area onto a new layer.
This will isolate the clothing, allowing you to edit it separately without affecting the entire image.
Step 5: Apply Transparency with Adjustment Layers
Now that the clothing is isolated:
- Create a new Adjustment Layer (Layer > New Adjustment Layer > Levels or Hue/Saturation).
- Hold Alt and click between the clothing layer and adjustment layer to clip it, so only the clothing is affected.
- Adjust the sliders:
- Reduce opacity
- Adjust brightness and contrast
- Play with RGB color channels to desaturate or brighten the layer
- Optionally, change the Blending Mode to something like Overlay, Screen, or Multiply to test various transparency looks.
This simulates a see-through or translucent effect while retaining artistic integrity.
Step 6: Fine-Tune and Finalize the Image
Once you’re happy with the clothing transparency:
- Balance the rest of the image using Brightness/Contrast, Curves, or Color Balance.
- Retouch any rough edges using the Eraser Tool or Layer Masking.
- Apply background effects if necessary (blur, gradient, or bokeh).
- Save your work in both .PSD and .JPEG formats.
Pro Tip: Use Clipping Path Services for complex clothing outlines — this can save you hours of manual selection and refinement.
Ethical Considerations and Best Practices
While this technique can create eye-catching and imaginative edits, it’s crucial to always:
- Respect privacy and model consent.
- Use stock images or photos you have full rights to edit.
- Keep the edits tasteful and artistically driven, not invasive.
Benefits of Mastering the X-ray Photoshop Technique
- Enhances your Photoshop skillset
- Helps create unique visual concepts
- Can be used in advertising, digital art, or storytelling
- Makes your portfolio more diverse and impressive
- Great conversation starter or viral image potential
Alternative Apps for the X-ray Effect
Don’t have Photoshop? Several apps on iPhone and Android offer X-ray-style effects:
- PicsArt
- Snapseed
- LightX
- X-ray Scanner Camera FX (for novelty purposes only)
However, these apps are mostly for fun edits and don’t offer the precision and control of Photoshop.
Common FAQs About Transparent Clothes Editing in Photoshop
Can you actually remove clothes in Photoshop?
Not really. Photoshop can’t “see through” clothes in real photos. What it does is allow editors to simulate transparency by recreating what might be underneath or replacing garments with skin-like textures and shadows.
Is there a see-through clothes filter in Photoshop?
No official filter exists. The X-ray effect is a manual technique using layer masks, blending modes, and adjustments to create the illusion of transparency.
How do I fix a see-through shirt in a picture?
To make a shirt less transparent, do the reverse of the X-ray effect:
- Duplicate the image layer
- Select the see-through area
- Use a soft brush to paint over with a matching color
- Adjust opacity and blend mode to restore natural appearance
Conclusion
The X-ray or see-through clothes technique in Photoshop is a fun and creative way to explore your artistic potential. While it’s not meant to “expose” anyone unethically, it’s a fascinating method for making visually striking images that captivate audiences and showcase Photoshop’s immense power.
From fashion to surreal art to promotional visuals, this trick adds another powerful tool to your editing arsenal. With a little practice and the right image, you can produce mesmerizing results that stand out in a sea of ordinary photos.
Want Professional Help?
If you’re looking to apply this technique at a commercial or professional level, consider outsourcing to expert photo editing services like Clipping Path Providers or Image Retouching Experts. They can help you with high-precision cutouts, layer masks, and retouching — ensuring perfect results every time.